

Table of Contents
In this article, I would like to describe how to run your application using the Docker environment.
In the first part of this guide, I will tell you what a container is and how it differs from a virtual machine. In the second part, we will create a simple web application in Node.js, then we will build a Docker image for this application, and create an instance of the container from this image. Finally, I will give a few useful commands when using Docker.
So, What Is a Container in IT?
Simply put, a container is a sandboxed process on your machine that is isolated from all other processes on the host machine. Containers are isolated from each other and run their own software, binaries, and configurations.
The most famous container platforms right now are Docker and Kubernetes. Docker, in particular, has become almost synonymous with containerization.
I can hear the thoughts like “this is the same thing as virtual machines”. So I would like to show a few differences between a virtual machine and a container.
Differences Between Container and Virtual Machine
Key Aspects of a Virtual Machine
- Virtual machines run in isolation as a fully standalone system. This means that VMs are immune to any exploits or interference from other VMs on a shared host.
- Interactive – Once the basic hardware definition is specified for a VM, the VM can then be treated as a bare-bones computer. Software can be manually installed to the VM.
- VMs can take up a lot of storage space.
- Each virtual machine contains a full copy of the operating system and all applications, which makes it start slowly.
Key Aspects of a Container
- The most important idea behind containers is isolating individual applications, not entire systems. Unlike virtual machines, containers don’t have separate, dedicated hardware-level resources for them to behave like completely independent machines.
- Containers allow running multiple workloads on the same OS, which allows efficient use of resources.
- Data storage is more complex for containers than for VMs. For persistent container data, you have to move it out of the application container to the host system.
In the Docker documentation, you can learn more about the differences between a container and a virtual machine: https://docker.com/resources/what-container.
What Can I Do With Containers?
Right, the definition of container is clear and so are the benefits. But what can you do with them?
Here are some examples:
- With containers, setups are simple. You can just put your configurations into code and implement it.
- Transfer existing applications to a modern cloud environment.
- Better support for microservices architectures.
- Distributed applications can be more easily isolated, deployed and scaled.
- Container technology supports simple build, test and deployment from the same container images.

Ok, Let’s Create Your First Docker Application!
Now that you understand what a container is and what it does, it’s time to create your first Docker application!
Creating First Docker Application Step-by-Step
1. Getting Docker
You have two options:
Option a) Install Docker on your machine
Access the Docker website to find the installation file: version for Mac, version for Windows.
For Windows and macOS, we install the Docker Desktop utility, which includes: Docker Engine, Docker CLI client, Docker Compose, Docker Content Trust, Kubernetes, and Credential Helper.
For Linux it varies by distribution, the exact information can be found on the Docker Engine, in the “Installation per distro” tab.
Select the system you are using and follow the instructions to run the Docker application on your computer for the first time.
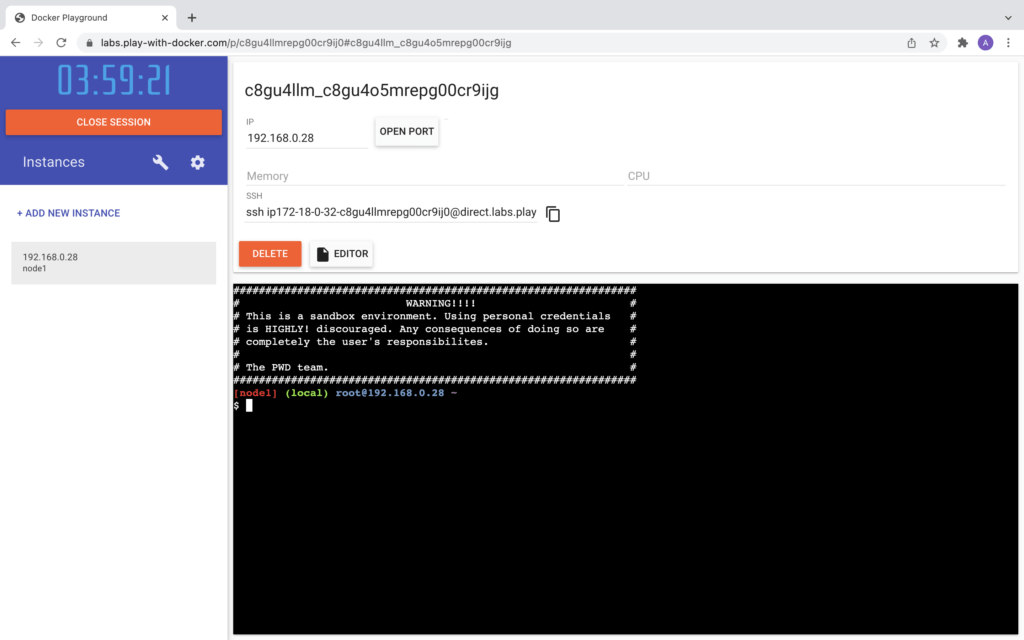
Option b) Play with Docker
If you do not want to install the docker on your computer, you can use a Docker playground which allows users to run Docker commands. Register on this website and start using Docker.
2. Containerizing an App
Okay, now you have access to the Docker environment. It could be Docker Desktop on Windows or MacOS. It could be Play with Docker in the cloud.
So it’s time to build a Docker image containing the code of your application. In my example, I will use the React application code, but remember you can use other languages, like Angular, JavaScript, HTML, and more.
For the purposes of this article, I created the simplest application from React’s tutorial. I refer you to their website.
2.1. Creating a Dockerfile
Okay, I assume you have your application code in a folder on your computer. So it’s time to create a Dockerfile.
The first thing we need to do is to define what image we want to build from. Here we will use the latest version of node available from the Docker Hub:
FROM node:latestNext, we create a directory to hold the application code inside the image:
#Create directory in container image for app code
RUN mkdir /usr/src/app
To bundle your app’s source code inside the Docker image, use the COPY instruction:
#Copy app code (./my-app) to /usr/src/app/ in container image
COPY ./my-app /usr/src/app/
Next, we set a directory that will be the working directory for your application:
#Set working directory
WORKDIR /usr/src/app
To install npm dependencies from packages.json, run the following command:
#Install dependencies from packages.json
RUN npm install
Our app binds to port 3000 so you’ll use the EXPOSE instruction to have it mapped by the docker daemon:
#Set container listen port
EXPOSE 3000
Finally, we define a command to run the application inside the container:
#Command for container to execute
ENTRYPOINT [ "npm" , "start" ]
Your Dockerfile should now look like this:
FROM node:latest

#Create directory in container image for app code
RUN mkdir /usr/src/app

#Copy app code (./my-app) to /usr/src/app/ in container image
COPY ./my-app /usr/src/app/

#Set working directory
WORKDIR /usr/src/app

#Install dependencies from packages.json
RUN npm install

#Set container listen port
EXPOSE 3000

#Command for container to execute
ENTRYPOINT [ "npm" , "start" ]
2.2. Building the Image
Go to the directory that has your Dockerfile and run the following command to build the Docker image.
docker build -t node-web-app .The -t flag allows you to tag an image to make it easier to find later.
3. Running a Containerized App
Now, if you’ve been following along you’ll have an image on your local machine with the app and the dependencies inside of it. And you can use that local image and run a container from it.
docker run -p 3000:3000 –name my-app -d node-web-appRunning your image with the -p flag redirects a public port to a private port inside the container. The -d flag runs the container in detached mode, leaving the container running in the background. The flag –name allows you to give a name to the container you are creating. As the last argument, we give the name of the image from which we want to run the container.
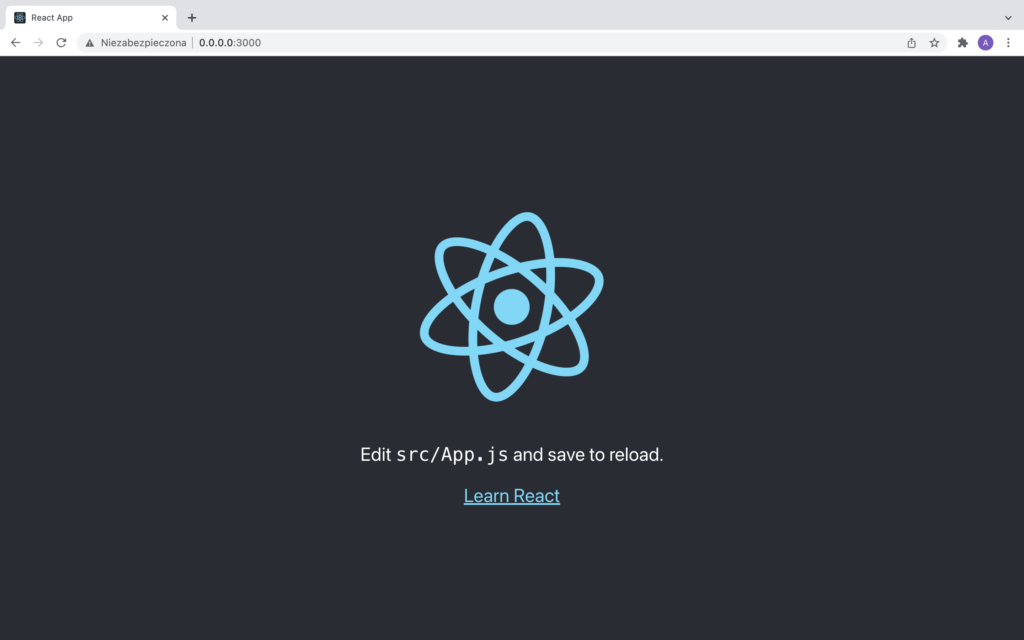
To check if the application is actually running, you need to go to your browser and enter http://localhost:3000.
You should see something like this:
4. Managing a Containerized App (Useful Docker Command List)
So, we’ve got a web app running inside a container. Well, we call what we’ve done a containerized app, and it’s kind of like a fast, lightweight virtual machine, meaning, we can stop and restart it, just like we can with a VM.
Finally, I prepared a list of commands that may be useful in managing the docker:
- Build an image from a Dockerfile: docker build
- List images: docker image ls
- List all existing containers: docker ps -a
- Stop a container: docker stop [container name]
- Delete a container: docker rm [container name]
- Display logs of a container: docker logs [container name]
- Run a command in a running container: docker exec
You can see the full list of commands in the Docker documentation.
Conclusion – This Was The First Step!
We’re all done. Well, first off, let me congratulate you on making it to the end.
I hope these instructions helped you run your first Docker application.
Just let me finish by saying it was gloriously easy to pass that app from source code to running in a container. Even though this example was simple, the setup process is very similar for more complex projects.
I mean, you’ve got the fundamentals of Docker and containers now, and you’re more than ready to continue learning the technology.
See you next time, with more challenging tutorials!